DCS and Quality Digest Present Quality 4.0 Webinar - How CAD GD&T Drives Model-Based Definition With 3DCS Tolerance Analysis Software
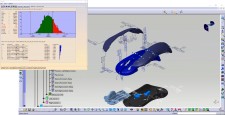
TROY, Mich., October 23, 2018 (Newswire.com) - Dimensional Control Systems (DCS), engineering software developer, has partnered with Quality Digest, to present a webinar demonstrating how Model-Based Definition can incorporate GD&T, CATIA FTA or CREO and NX PMI, and feed downstream processes like inspection and manufacturing problem-solving. Hosted by Quality Digest on Thursday, October 25 at 2 P.M. EST, the event is FREE to watch and recommended for engineering and quality professionals.
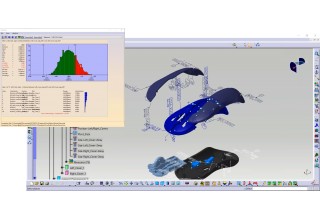
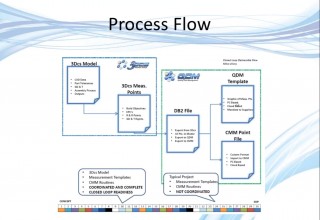
This webinar will demonstrate Closing the Loop - how to begin with GD&T for variation analysis, and then replace the GD&T with plant measurement data. There are methods to make this process easier, including the automation of measurement plans from the CAD model itself, with point coordination between measurement devices and the CAD model. This powerful process, Closed Loop Manufacturing, provides a method of interconnecting design, engineering, and manufacturing throughout the product lifecycle.
Including this data in your analysis increases the accuracy of your tolerance analysis and provides a great tool for solving problems in the plant.
Gary Bell, Sr. Dimensional Analyst - ASME Certified Trainer
Closed Loop Manufacturing automates collecting measurement data and utilizing it to identify issues in manufacturing continually; non-conformance, out-of-specification parts, variation, to improve design quality and resolve those issues before they become costly fixes like scrap, rework and warranty recalls. The Closed Loop portion comes in when this measurement data is fed upstream to enhance future iterations of the process. When implemented effectively, Closed Loop processes reduce tooling costs, improve accuracy and produce higher-quality parts on future designs.
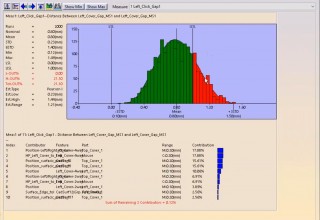
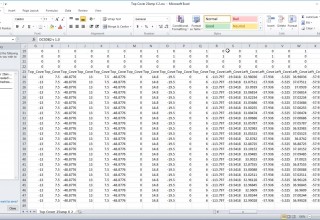
Using measurement data from a CMM can give real insight into your production line, and help you discover mean shifts and product variation that may not have been represented in your simulation. The ability to create a measurement plan, including CMM coordinate measurement points, and then quickly incorporate the measured data back into the model, gives users the ability to provide the points that they need measured, connect the measured points to the points in the model, and then run new analyses based on the measured data.
“Closing the loop is replacing engineering tolerances, GD&T, with actual plant measured data, your part tolerances measured in the plant. So when we are doing an original analysis, we are simulating the GD&T. When we are in production, we want to replace this with actual measured data,” said Gary Bell, DCS Senior Dimensional Analyst. “This is important to manufacturers as standard CAD models assume a normal distribution centered around nominal, while the measured parts may not be in the specification and may have mean shifts. Including this data in your analysis increases the accuracy of your tolerance analysis and provides a great tool for solving problems in the plant.”
DCS will be presenting the webinar "Quality 4.0 - How CAD GD&T Drives Model Based Definition with 3DCS Tolerance Analysis Software" on Thursday, October 25 at 2 P.M. EST vis WEBEX. Visit DCS’ blog at https://blog.3dcs.com to learn more and register for free.
Source: Dimensional Control Systems
